Follow this practical step-by-step guide designed for startups to navigate the software development process from initial concept to a launched Minimum Viable Product (MVP).
From Concept to MVP: A Step-by-Step Software Development Process for Startups
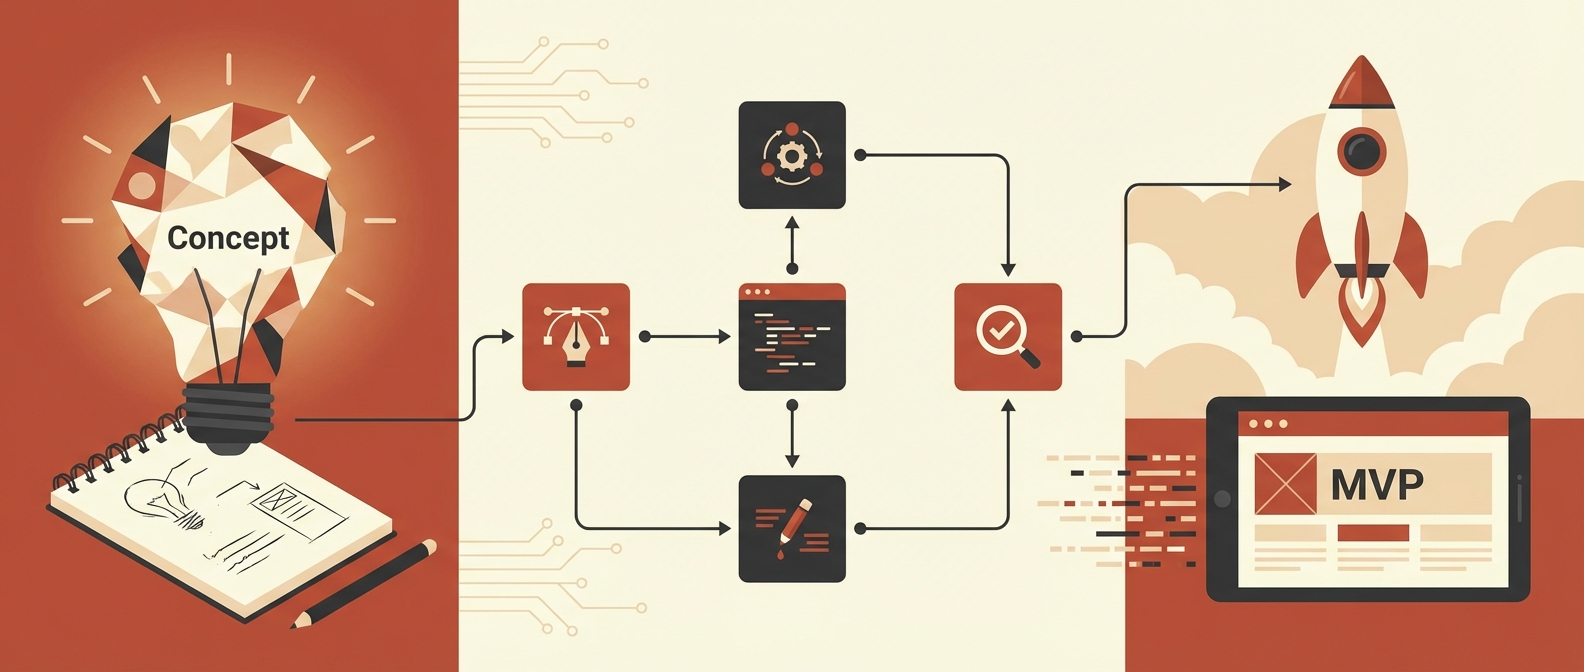
Turning a promising startup idea into a functional Minimum Viable Product (MVP) can seem daunting. However, by following a structured development process, startups can efficiently navigate the journey from concept to launch, minimizing risk and maximizing the chances of success. This guide outlines a practical, step-by-step process tailored for startups.
Phase 1: Discovery and Validation (Weeks 1-3)
This initial phase is crucial for laying the right foundation. Don't skip these steps!
Step 1: Define the Problem and Value Proposition
- Articulate the Problem: Clearly state the specific customer pain point you are solving.
- Identify Your Target Audience: Define your ideal customer profile (ICP).
- Craft Your Value Proposition: Explain the unique benefit your solution offers.
"Fall in love with the problem, not the solution." - Uri Levine, Co-founder of Waze
Step 2: Conduct Market Research
- Competitor Analysis: Identify existing solutions and their strengths/weaknesses.
- Market Size & Trends: Understand the potential market opportunity.
- Validate the Problem: Conduct surveys and initial customer interviews to confirm the problem exists and is worth solving.
Step 3: Outline Core MVP Features (Feature Prioritization)
- Brainstorm Features: List all potential features for your product vision.
- Prioritize Ruthlessly: Use methods like MoSCoW (Must-have, Should-have, Could-have, Won't-have) or feature impact/effort mapping.
- Define the "Minimum": Select only the absolute essential features needed to deliver the core value and test your main hypothesis.
Phase 2: Design and Prototyping (Weeks 4-6)
Focus on visualizing the solution and testing usability before heavy coding.
Step 4: Map User Flows
- Create User Journeys: Outline the steps users will take to achieve their goals within the MVP.
- Identify Key Interactions: Focus on the core workflow related to your MVP features.
Step 5: Wireframing and Mockups
- Low-Fidelity Wireframes: Sketch the basic layout and structure of each screen.
- High-Fidelity Mockups: Create detailed visual designs reflecting the look and feel (branding, colors, typography).
Step 6: Create Interactive Prototypes
- Build Clickable Prototypes: Use tools like Figma, InVision, or Adobe XD to link screens together, simulating the user experience.
- Test Usability: Conduct user testing sessions with the prototype to gather early feedback on navigation, layout, and clarity.
- Iterate on Design: Refine the design based on user feedback before development starts.
Phase 3: Development (Weeks 7-12+)
This is where the core features of the MVP are built.
Step 7: Choose the Technology Stack
- Evaluate Options: Select programming languages, frameworks, databases, and hosting based on MVP requirements, team expertise, scalability needs, and budget.
- Make Informed Decisions: Refer to our guide on [Choosing the Perfect Technology Stack](/blog/how-to-choose-the-perfect-technology-stack-for-your-software-prototype).
Step 8: Set Up the Development Environment
- Version Control: Use Git (e.g., GitHub, GitLab).
- Project Management: Choose a tool (e.g., Jira, Trello, Asana) to track tasks.
- Infrastructure: Set up necessary development, staging, and production environments (even if basic for MVP).
Step 9: Agile Development Sprints
- Adopt Agile Methodology: Use Scrum or Kanban for iterative development.
- Develop Core Features: Build the prioritized "Must-have" features in short cycles (sprints).
- Regular Reviews: Conduct sprint reviews and retrospectives to ensure progress and adapt as needed.
- Build Quality In: Incorporate basic testing (unit, integration) from the start.
Phase 4: Testing and Refinement (Parallel with Development & Weeks 10-14+)
Testing shouldn't be an afterthought; it should happen continuously.
Step 10: Quality Assurance (QA) Testing
- Functional Testing: Ensure features work as expected.
- Usability Testing: Validate ease of use with real users (can use early builds).
- Compatibility Testing: Check performance across different browsers/devices (if applicable).
- Basic Security Testing: Identify and fix obvious vulnerabilities.
Step 11: Gather Feedback and Iterate
- Alpha/Beta Testing: Release early versions to a small group of target users.
- Collect Feedback: Use surveys, interviews, and analytics tools.
- Prioritize Bug Fixes & Improvements: Focus on critical issues and high-impact improvements based on feedback.
Phase 5: Launch and Measurement (Weeks 14-16+)
Prepare for the initial launch and set up mechanisms to learn from users.
Step 12: Prepare for Launch
- Deployment: Deploy the MVP to the production environment.
- Marketing Materials: Prepare basic landing pages, app store listings (if applicable), and initial outreach materials.
- Analytics Setup: Ensure tracking tools (e.g., Google Analytics, Mixpanel) are implemented to measure user behavior.
Step 13: Launch the MVP
- Targeted Release: Launch to your initial target audience segment.
- Monitor Performance: Keep a close eye on server performance, error logs, and initial user activity.
Step 14: Measure and Learn (Ongoing)
- Analyze Key Metrics: Track user acquisition, activation, retention, and engagement metrics relevant to your hypothesis.
- Continue Gathering Feedback: Actively solicit feedback from early adopters.
- Validate Hypothesis: Determine if the MVP successfully validated or invalidated your core assumptions.
- Plan Next Steps: Based on learning, decide whether to pivot (change direction), persevere (continue improving), or expand.
Typical MVP Development Timeline for Startups
While timelines vary greatly based on complexity, a typical range is:
- Simple MVP: 2-3 months
- Moderate MVP: 3-5 months
- Complex MVP: 5+ months
Remember, the goal is speed to learning, not necessarily speed to a feature-complete product.
Tools to Support the MVP Process
- Idea Validation: SurveyMonkey, Typeform, User Interviews
- Design/Prototyping: Figma, Sketch, Balsamiq, InVision
- Project Management: Jira, Trello, Asana, Notion
- Development/Hosting: GitHub, GitLab, AWS, Google Cloud, Vercel, Heroku
- Analytics: Google Analytics, Mixpanel, Amplitude, Hotjar
- Feedback: Intercom, UserTesting, Maze
Common Pitfalls for Startups in the MVP Process
- Skipping Discovery: Jumping straight into coding without validating the problem.
- Overbuilding the MVP: Including too many features ("Minimum Viable" becomes "Maximum Desired").
- Ignoring User Feedback: Building based on internal opinions instead of user data.
- Lack of Clear Metrics: Not defining how success will be measured.
- Perfectionism: Delaying launch indefinitely to polish minor details.
The Bottom Line: It's a Cycle, Not a Linear Path
The journey from concept to MVP isn't strictly linear. It's an iterative cycle, especially centered around the Build-Measure-Learn loop. Be prepared to revisit earlier steps based on feedback and learning. The goal is to efficiently find product-market fit by continuously testing assumptions and adapting your product based on real-world evidence.
Ready to turn your concept into a reality? Contact our team to discuss how we can guide your startup through the MVP development process effectively.
FAQ: Concept to MVP Process
Q: How much detail is needed in the initial concept phase? A: Enough to clearly define the problem, target user, and core value proposition. Avoid getting bogged down in detailed feature specs too early.
Q: Should I hire a team or use freelancers for my MVP? A: It depends on your budget, timeline, and long-term plans. Agencies or dedicated teams often offer more structure, while freelancers can be flexible. Consider the need for ongoing development post-MVP.
Q: How "minimum" should my MVP really be? A: It should be the smallest version that allows you to test your most critical assumption about your business idea with real users.
Q: What if my MVP fails to validate my hypothesis? A: That's valuable learning! It's much cheaper to learn this with an MVP than after building a full product. Use the insights to pivot your strategy or idea.
Q: Do I need a technical co-founder to go through this process? A: While helpful, it's not strictly necessary. Non-technical founders can lead the process by focusing on discovery, validation, and user feedback, while partnering with technical teams or using low-code/no-code tools for development.